On Saturday, Jeff and I had a pretty fun day of running around to all corners of the city, doing errands, picking things up, dropping things off. Someone on our local Buy Nothing group had some seedlings to share from her prolific garden and greenhouse, so we rescued a bush bean, a sunflower, and a rhubarb for our own garden. We had things to take to the thrift store, so we made the trek to our favourite one in Richmond, and on the way there grabbed some lunch at the Kyu Grill truck outside the bank in the River District— a Hawaiian-Japanese fusion situation where everything looks incredible. We each got a hero (I chose the spicy mayo one, above), and they were worth getting rained on while eating; definitely check them out if you get the chance.
At the thrift store we found some fabulous vintage beer steins from Vancouver Oktoberfest 1971 and 1972, and so stopped at Storm Brewing, one of the O.G. East Van breweries created by and for weird dirtbags, on the way home and got a growler fill of pineapple pilsner (more delicious than it has any business being). We also had a short visit with my sister, and she invited us in to see her ‘new’ apartment, which she’s lived in since November of last year. I realised it was the first time I’d been inside someone else’s house since Christmas Eve, when I briefly went inside at my mom’s to pick up and drop off holiday gifts and baking. It’s unnerving to be on the verge of a time when we can have ‘normal’ social lives again after such a long period of isolation, and I may not be ready for all of it, but I am definitely ready for some of it.
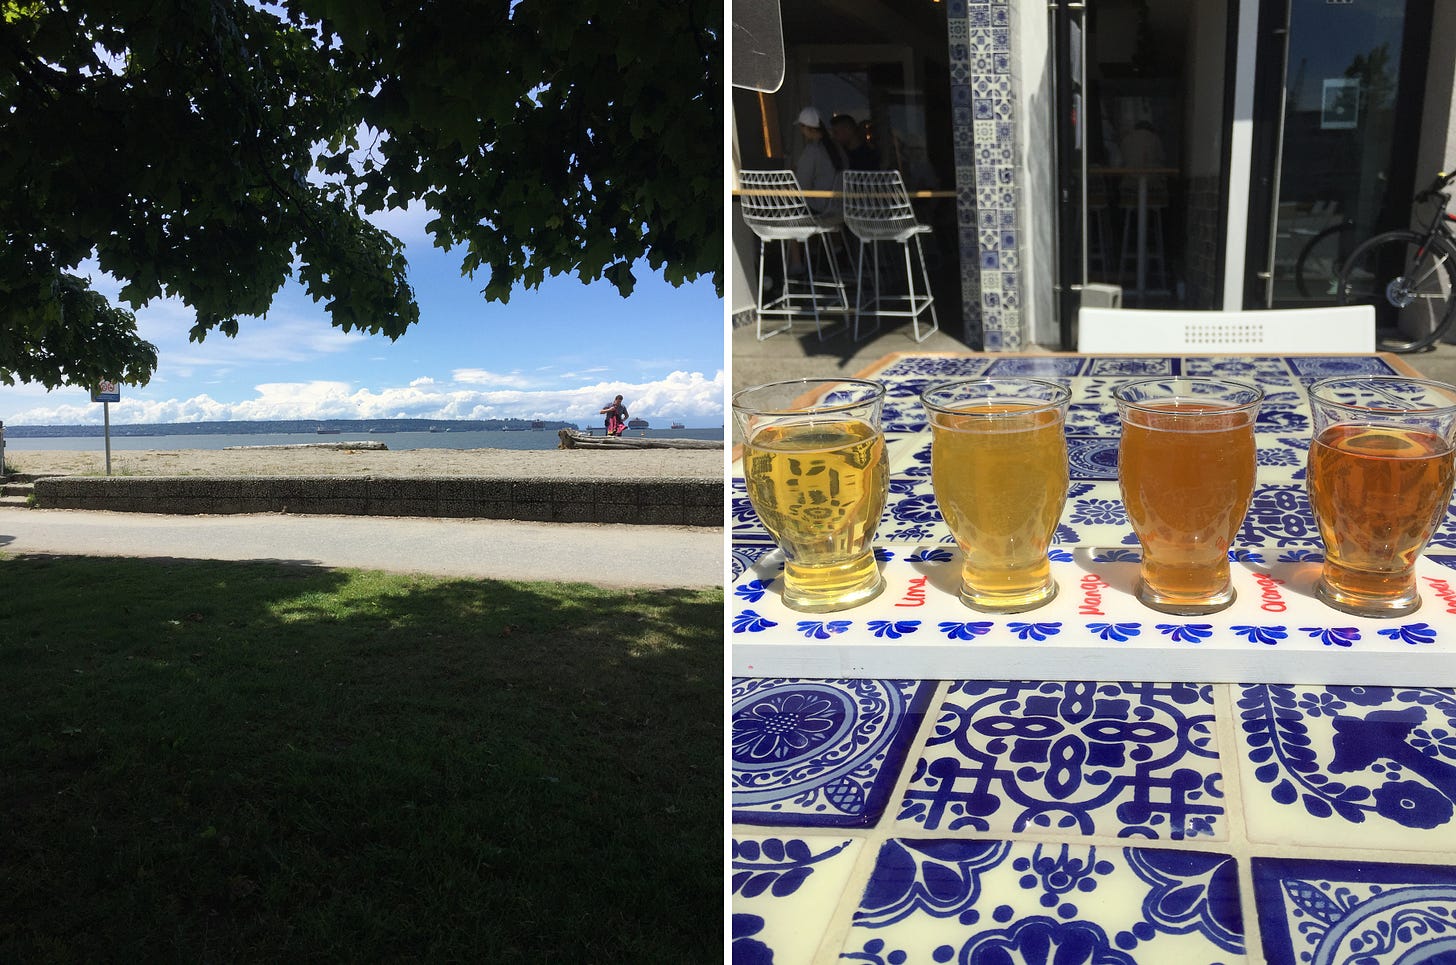
It was a nice surprise on Tuesday to have the sun come out, because we had a scheduled power outage at home for most of the day and I was anticipating having to spend it inside knitting by candlelight like a Victorian housewife. Instead I went for a bike ride, had some patio beers and tacos at La Cerveceria Astilleros, and pulled weeds in the garden. As we’re facing another week of chilly, garbagey weather, I try to tell myself that June is just trying to make up for the low amounts of rain we had in April and May. When the city just faced its coldest June day since 1976, it’s kind of hard to keep my chin up, but at least there is always comfort food.
I’d had this vegan tantanmen saved since it popped up on the home page awhile ago, just waiting for a day that warranted the hearty warmth of ramen. Sunday was stormy and cold, so while I was disappointed not to be able to do any gardening, at least it gave me the excuse I needed to make this. Tantanmen is a spicy sesame version of ramen usually made with ground pork, but this vegan version sounded so amazing, and I could make it with things I already had at home (plus I’m just not the hugest fan of ground meat in a soup setting). It did involve a two pots and a frying pan, but it actually didn’t take long at all to make. The broth uses vegan milk, soy sauce, a bit of sugar and vinegar, sesame paste, and chili oil to create a rich broth with a fantastic depth of flavour that we couldn’t stop marvelling at throughout our meal.
Slicing the tofu thinly and frying it just a little longer than necessary gives it a great texture when you add it to the soup, almost like inari. Jeff didn’t seem too keen on the corn idea and I didn’t feel like rooting around in the freezer for it, so we just charred some broccoli instead. We boiled a couple of eggs because to me they are an essential element of ramen, and then used the same pot to cook the noodles. I used homemade broth from the freezer, but this would also be a great time to use a faux chicken bouillon (just taste it for salt in case you want to adjust the amount of soy sauce later). I only had a splash of chile oil and wanted to save it for garnish, instead using doubanjiang in the broth base, and it was excellent.
The step of dividing the soup base between serving bowls and then whisking the broth in to each one separately seemed needlessly fussy, so I just mixed it into the pot after adding the milk and am pleased to report that nothing terrible happened. Assembling the bowls was fun and satisfying, and my only regret is that I didn’t cover the plate I was using to hold the tofu and vegetables after frying, so they weren’t as warm as they could have been. The sesame flavour in the broth really shines, and the spice and salt levels were just perfect. While leaving out the corn did mean there wasn’t a sweet element, I don’t think it was a loss: I loved how the broccoli florets picked up lots of the broth flavour after submerging them in the soup. I can’t overstate how good this was— even while eating it I was already thinking about when I would get to make and eat it again.

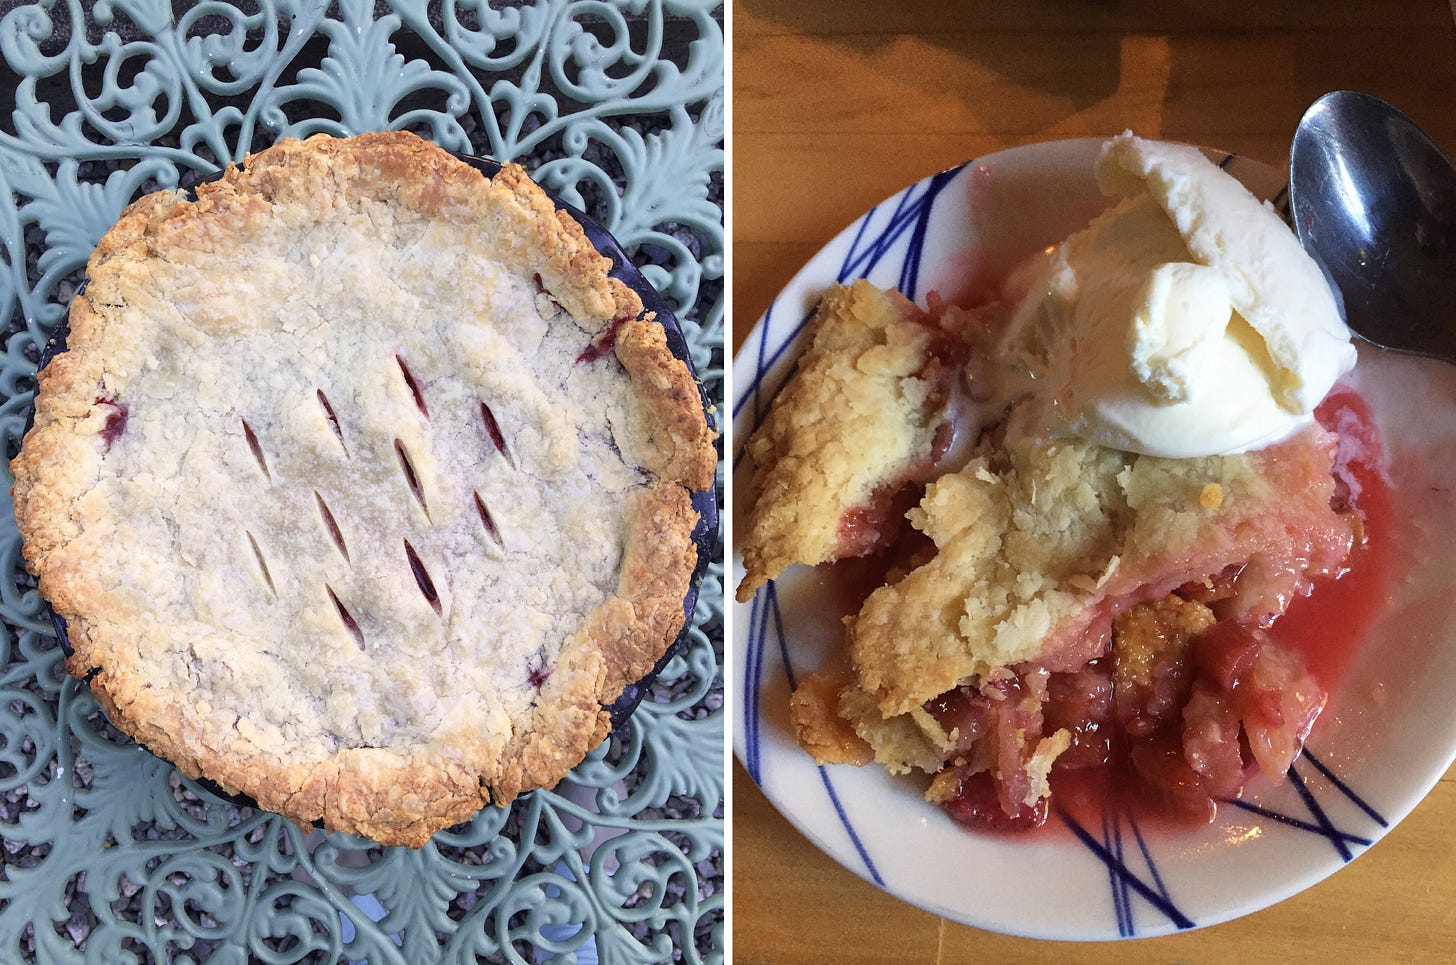
Rhubarb has finally started to show up at the produce market, so I was able to make my first strawberry rhubarb pie of the season. This is objectively the best type of pie, and not to brag (yes to brag) but I consider myself practically a virtuoso at making it now. I haven’t had a bakery or restaurant pie I like as much as I like the one I make. Pie filling is easy, but I will say that it took a little while to be as comfortable making crust as I am now. I’ve mentioned before about how the recipe in John Bishop’s Fresh was the one that set me on the right path: it creates a lovely, flaky crust with no messing around with frozen butter or overnight refrigeration or anything, so I can thankfully make a pie without having to plan ahead. Towards the end of this newsletter I’ve included my pie-making method (based on this recipe) and some tips that have helped me in my journey, if you want to try making pie but feel nervous about the crust!
The main thing when making strawberry-rhubarb pie filling is to not be shocked by the amount of sugar that goes into it. Both rhubarb and strawberries are quite tart and release a lot of moisture when cooked, so you really do need it in order to create a sweet, juicy filling. I use between 1¼ and 1½ cups for about 5 cups of fruit (the lower amount is if my ratio is uneven and I’m using more strawberries). A quarter cup of corn starch helps the sugars and juice create a thick syrup, and just a pinch of salt is enough to bring out the flavours in the fruit.
I love the ritual of making dough, making the filling while the dough rests, rolling out the crust, then tidying up and heating the oven while the pie chills. The anticipation is part of the enjoyment of pie for me, but eating it is of course the best part. We had a slice on Monday night while it was still warm, and the crust was perfectly flaky and toasty, and the filling so juicy it was basically pie soup (not a complaint). I had some Tahitian vanilla ice cream from Earnest to eat with mine; Jeff sadly had none because some of those terrible anti-maskers came in while I was there and distracted both me and the person serving me, so he misunderstood which flavour I’d changed my mind about and I ended up without a vegan one (I didn’t notice until I got home). So, a huge fuck you to those people, but Jeff’s eternally optimistic view was, “This just means I’ll have room to eat more pie!”
Also this week I tried a “blonde puttanesca” to use up some of the arugula in our garden that’s starting to bolt. It doesn’t use tomatoes and instead makes a flavourful sauce of capers, green olives, anchovies, and pasta water, with the addition of parsley, arugula, and tuna. I found it a little too briny on its own, but some lemon juice and zest helped brighten it up, making it really tasty. And on our unexpectedly sunny Tuesday, I scrapped my initial plans for risotto and instead grilled some Beyond patties and asparagus to make burgers and a salad with some endive from our garden. I bought the Modern Burger sauce, which is a bit like a vegan Big Mac sauce, and used it here— I highly recommend it.
BASIC PIE CRUST (adapted from John Bishop)
2 cups all-purpose or pastry flour (240g)
2 tbsp sugar (can be omitted for savoury pies)
½ to ¾ tsp salt
⅔ cup cold butter (150g)
⅓ cup cold water (if you keep water in the fridge, use it here; if not, run the tap until it’s as cold as possible)
Mix the dry ingredients together. Add in the butter and mix it together using your fingertips (or a pastry cutter if you prefer, but I hate these and feel they’re inefficient). You can cut the butter into pieces beforehand, or just break it apart with your hands in the bowl. The mixture should resemble coarse meal when you’re done, with the largest butter pieces about the size of peas. Make a well in the centre and pour in the water, and gently knead the flour in with your fingertips until reasonably well combined. It should still be somewhat dry and reluctant to come together. Pat into a rough ball in the bottom of the bowl (don’t worry if it’s still a little crumbly!) and cover with a tea towel to rest for 20 minutes. Use this time to make your pie filling.
Notes: To make this vegan, use a vegan butter, but since it will soften more quickly, start with it frozen. After mixing, put the dough in the fridge to rest instead of at room temperature (also do the fridge step for the butter crust if it’s very warm in your kitchen).
To roll out the crust, flour your work surface and rolling pin (or wine bottle or whatever you’re using). Keep more flour on hand. Separate the dough into two. Form the first half into a ball and roll it out until the circle is large enough to cover the bottom and sides of a 9” pie pan. If it crumbles apart, just gather the runaway pieces on top of the main dough and roll them back in. Add more flour as needed, lifting your dough occasionally to make sure it isn’t sticking to your work surface, turning if necessary to re-flour. When it’s the right size, carefully lift the crust and place in the bottom of the pan. If you have any tears or gaps, just press them together with your fingers or add a little bit of extra dough from the edge to cover.
Repeat for the top crust, cutting slits or shapes in the centre as desired for venting. Add the filling to the bottom crust (it should be slightly taller than the height of the pan), arranging small pieces of butter (1-2 tbsp total) on top, and then cover with the top crust. Trim any overhang and press the edges together with your fingers or a fork, and chill in the fridge for 30 minutes. Preheat the oven to 425° at some point in this time.
Notes: I never bother with a lattice crust and usually just cut slits or use a small jelly cutter to make shapes for venting, but if you want to do one, note that you’ll need to make the dough half you use for the top slightly larger. You can also use egg wash to help hold the edges of the crust together, but brushing with a bit of water will work too. For a shiny golden top crust, brush lightly with cream before baking.
Place the pie on a baking sheet to catch any drips. Bake for 20 minutes at 425°, then rotate the pan, reduce to 350°, and bake for another 30-35 minutes, until bubbling and browned. If you try making pie for the first time and you use my method, please let me know how it turns out!
Thanks for reading— if you enjoyed this newsletter, please share it with someone new! I like providing this to you for free, but it does still involve time and effort, so donations I can use towards cookbooks or future treats are much appreciated. Anyway, here’s the energy I’m planning to bring this summer.


